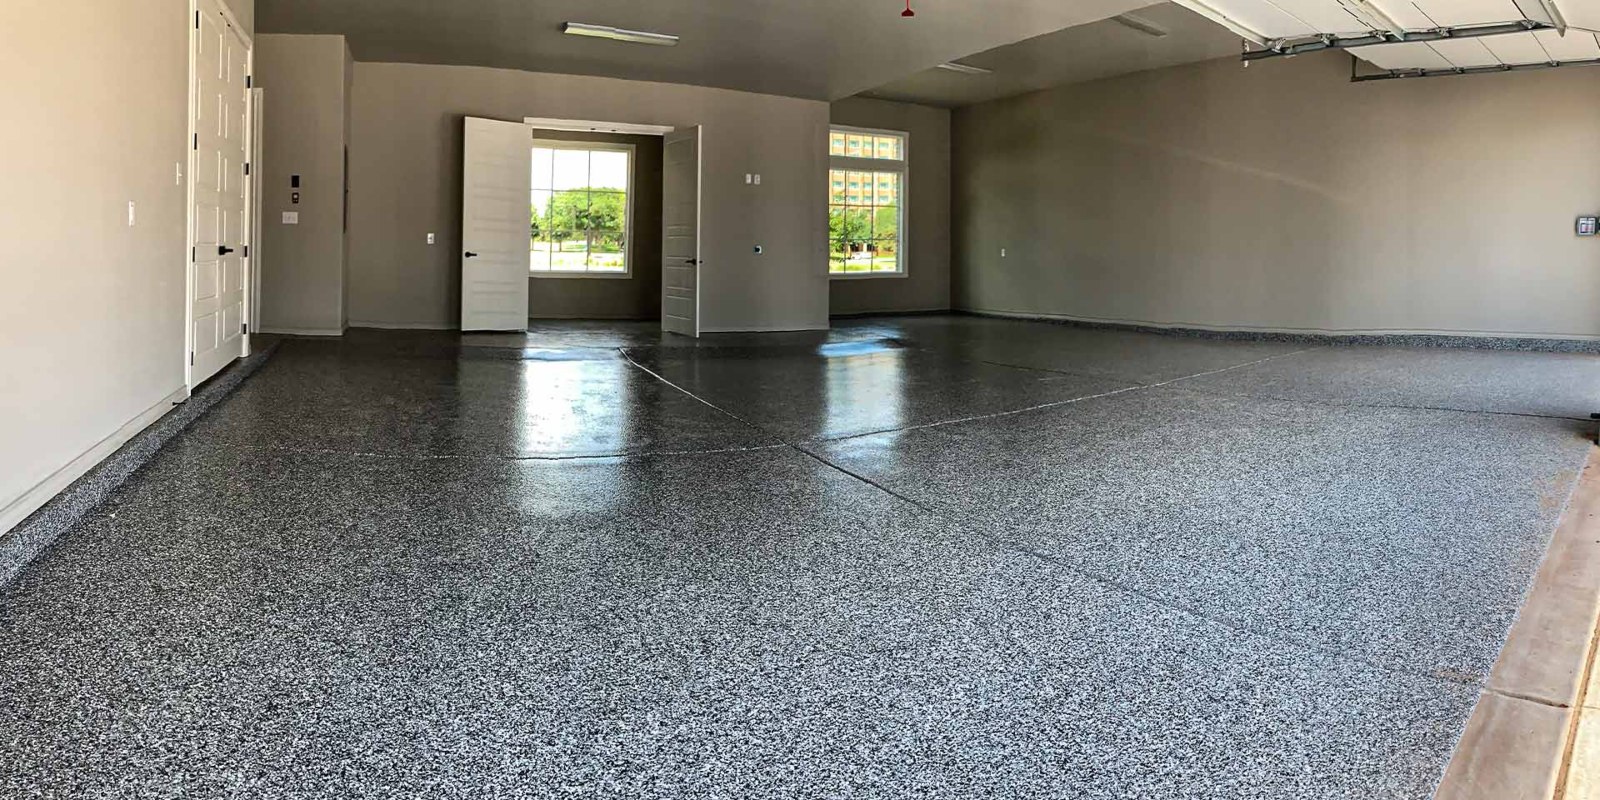
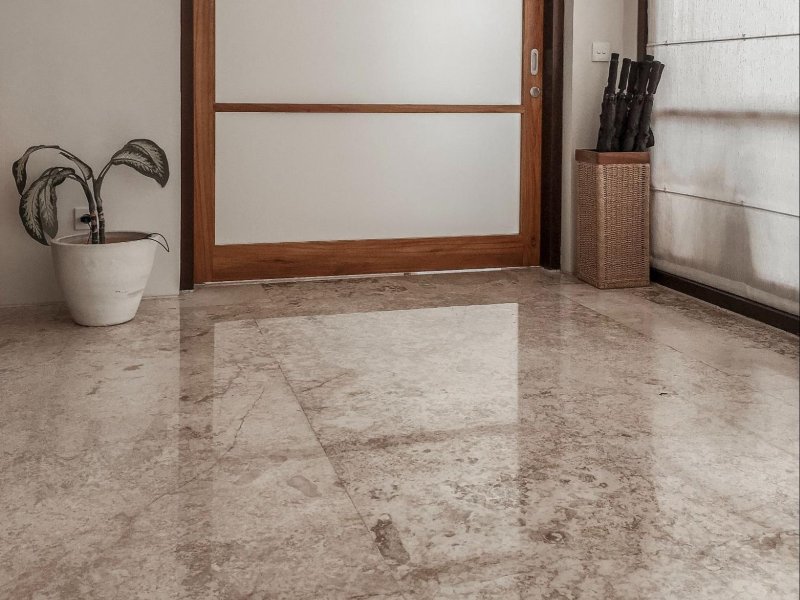
How To Epoxy Garage Floor
As any car lover knows, the garage is more than just a place to store your vehicles. It’s a work space, a storage area, and for some, it’s even a sanctuary. But no matter what you use your garage for, there’s one thing that can make it look better: a professional quality epoxy finish on the floor. Epoxy floors are durable, easy to clean, and they make any space look sharp. If you’re interested in giving your garage an upgrade, here’s everything you need to know about how to epoxy garage floor.
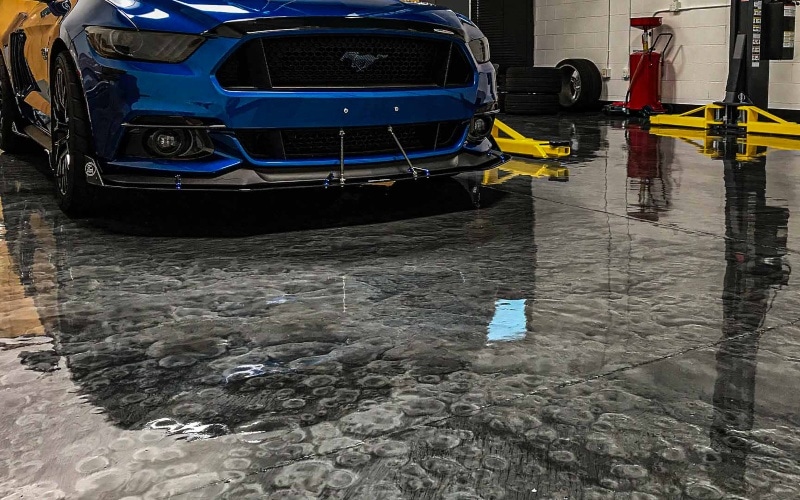
Choose the right epoxy for your needs – there are many different types on the market, so do your research to find the best one for your garage floor
When choosing an epoxy to coat your garage floor, it’s important to take time to do the research and select the best option for your needs. With a wide range of products available on the market, there are numerous technologies and formulas today that offer unique advantages over traditional methods. To figure out which one is right for you, consider factors such as surface preparation, acid etching, weather resistance, ease of application, and durability. By understanding your application goals beforehand, such as slip protection or aesthetic appeal, you can then assess each product and make an informed decision about which epoxy system is best for your garage floor.
Prepare the surface of your garage floor by cleaning it thoroughly and repairing any cracks or damage
Preparing your garage floor for an epoxy application is key to achieving the best possible result. Properly prepping the concrete surface of your garage will ensure that the waterproof layer created by epoxy will adhere correctly and last for years. Before beginning, be sure to clean the area thoroughly using a wire brush and chemical cleaner, then apply a patch or filler to address any cracks or other damage present on the concrete surface. Once you’ve properly cleaned, patched, and dried the floor, you can begin to prep for the epoxy application.
Mix the epoxy according to the manufacturer’s instructions
It is important to carefully read and follow the directions of the epoxy manufacturer in order to successfully lay down a high-quality epoxy garage floor. This includes mixing the two parts of the epoxy according to their instructions. During this step, taking your time and working slowly will yield better results than rushing through it. You should also pay close attention to the conditions that might affect any drying of the epoxy, such as temperature and humidity levels, which can vary in garages. Making sure that you follow each of these steps closely will ensure that you have a long-lasting, quality finish on your newly epoxied garage floor.
Apply the epoxy to the floor using a roller or brush, working in small sections
Applying epoxy with a roller or brush to your garage floor is the best way to get an even coat. When proceeding, it’s important to break the task into small sections – this will allow for more precise application and ensure proper coverage has been reached over the entire surface of the floor. To start, thoroughly mix and stir the epoxy before apply a thin layer between 4-6 square feet at a time with either a roller or brush. Rolling out will apply a smooth overall finish while brushing could be used for any corners or hard to reach areas. Keep doing this until your entire area is protected with epoxy.
Allow the epoxy to cure according to the manufacturer’s instructions before walking on it or parking your car in the garage
Optimal performance of the epoxy requires that you adhere to the manufacturer’s instructions for curing. Allowing the epoxy to cure completely before parking a car or walking on it will enable it to form a strong bond with the garage floor surface and endure wear and tear from everyday use. Waiting to do this step as instructed by the manufacturer can help prevent any unwanted inconveniences or damage in the long run.
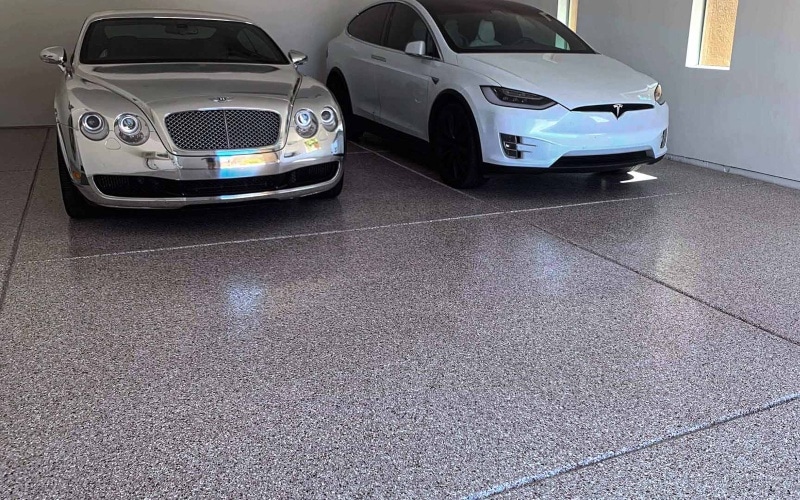
Wise Coatings
https://www.google.com/maps?cid=2589512530409833629
(503) 855-6338
https://wisecoatings.com/portland/


