How to Ensure a Perfect Finish with Clear Floor Epoxy
Are you looking for a high-performing, durable floor system that can withstand the wear and tear of heavy foot traffic? Clear epoxy coatings represent one of the best options available in terms of cost-effectiveness and long-term performance. If installed correctly, this type of coating produces an aesthetically appealing finish at a fraction of the cost associated with concrete or tile installation. In this blog post, we will go over everything you need to know about installing clear floor epoxy – from proper surface preparation to curing time – so that you too can benefit from its many benefits!
Preparation is Key – Make Sure the Floor is Clean and Dry
When it comes to creating a safe environment, preparation is key. One important step in ensuring the safety of your space is to ensure that the floors are clean and dry. A simple slip can lead to serious injuries and legal consequences. As a responsible professional, it is crucial to take the necessary steps to prevent such occurrences. Make sure to establish regular cleaning schedules and invest in quality cleaning equipment. In addition, always keep an eye out for wet spots or spills and address them immediately.
Consider Your Coverage Area – The Amount of Epoxy You Will Need
As a professional, it’s important to consider your coverage area when planning your epoxy project. In order to ensure that you have enough epoxy for the job, it’s crucial to accurately measure the square footage of the area to be covered. This will help you determine the amount of epoxy needed and avoid any unnecessary waste or the need for an additional purchase. It’s always a good idea to purchase a bit more epoxy than you think you’ll need, just to be on the safe side. Taking the time to calculate your coverage area and prepare accordingly will not only save you time and money but also ensure that your end result is a high-quality professional finish.
Choose Quality Products for a Lasting Finish
When it comes to achieving a long-lasting finish, quality products are essential. Whether you’re painting a room, refinishing furniture, or applying a coat of stain to your deck, investing in quality products will pay off in the long run. Not only do they produce a more professional-looking result, but they also tend to perform better over time, resisting wear and tear and maintaining their color and shine. Plus, using high-quality materials often means fewer coats are needed, saving you time and money in the process.
Mix It Up – Directions for Perfectly Blended Epoxy
Creating the perfect blend of epoxy is an essential skill for anyone interested in DIY projects. While it might seem straightforward, getting the ideal mix requires precision and experience. A ratio that is too high or low can result in a less sturdy and less appealing final result. Mixing epoxy in small batches is crucial to ensure that it remains at the right consistency throughout the process. It is recommended to use plastic or silicone cups, as they are effortless to clean and do not interact with the epoxy. To achieve the best blend, be sure to stir thoroughly, scraping the sides of the container to ensure that all components are evenly distributed.
Put it Down – Applying the Epoxy to the Floor
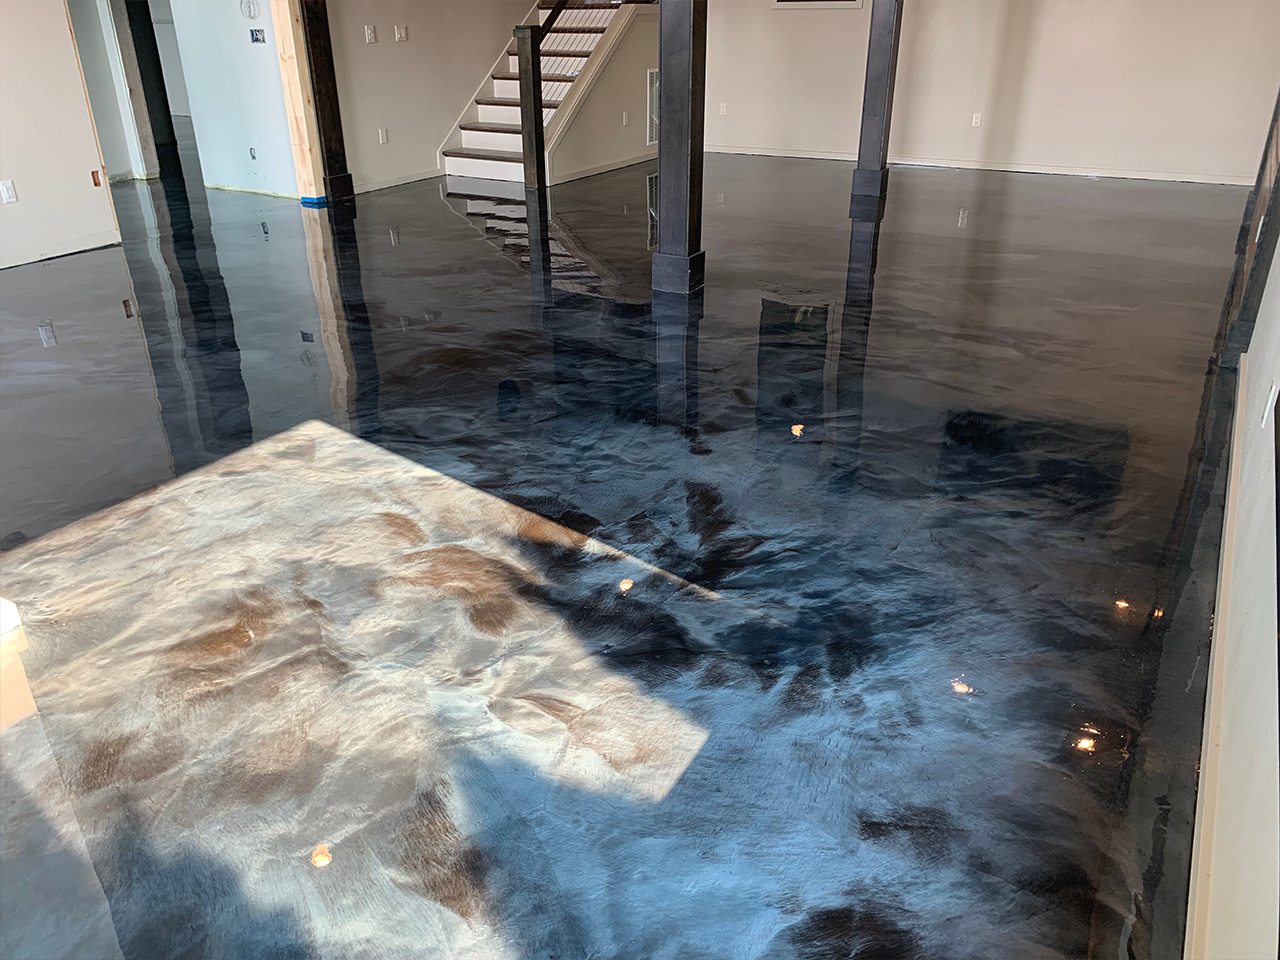
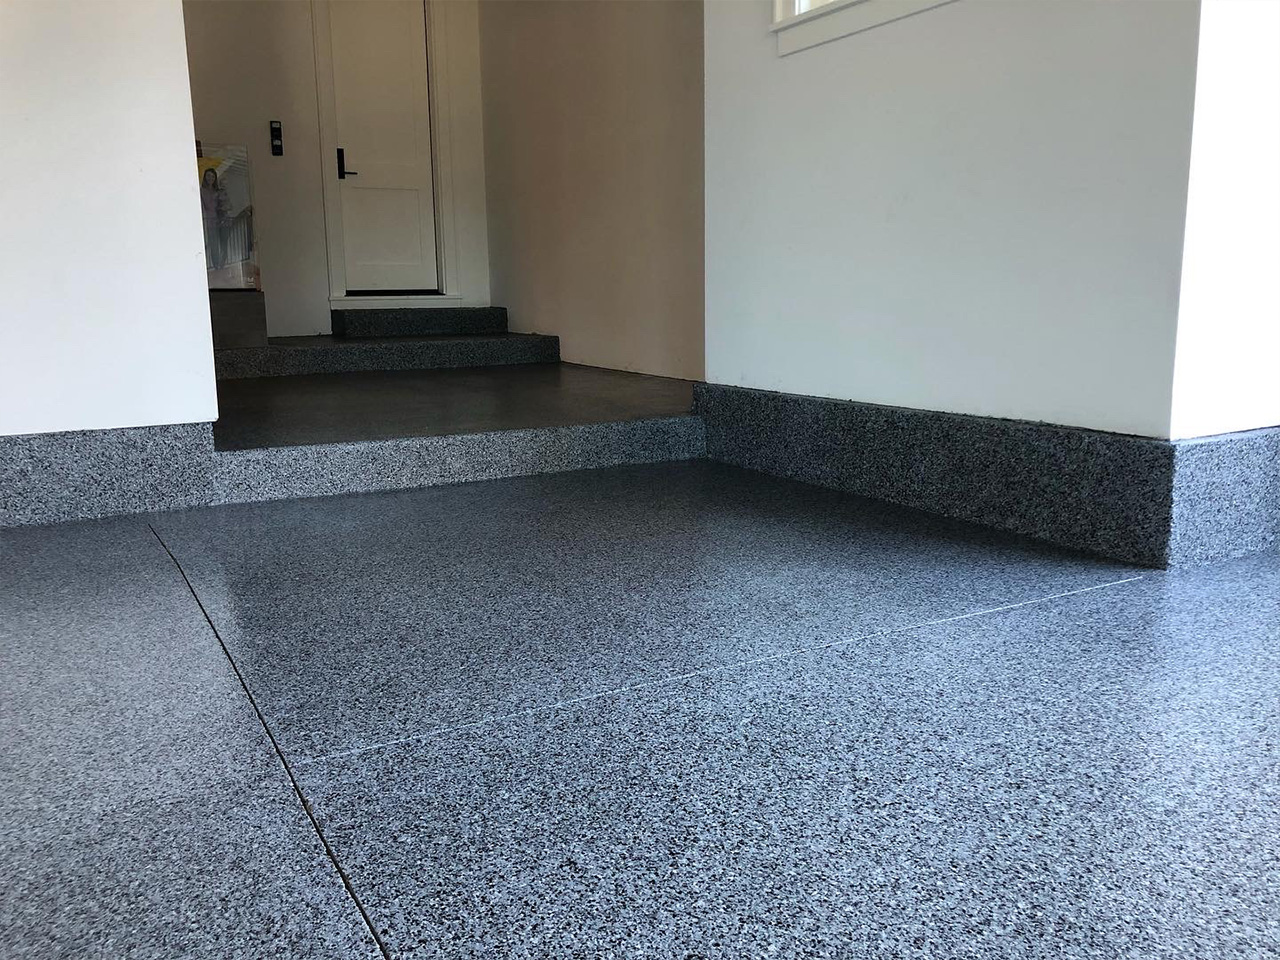
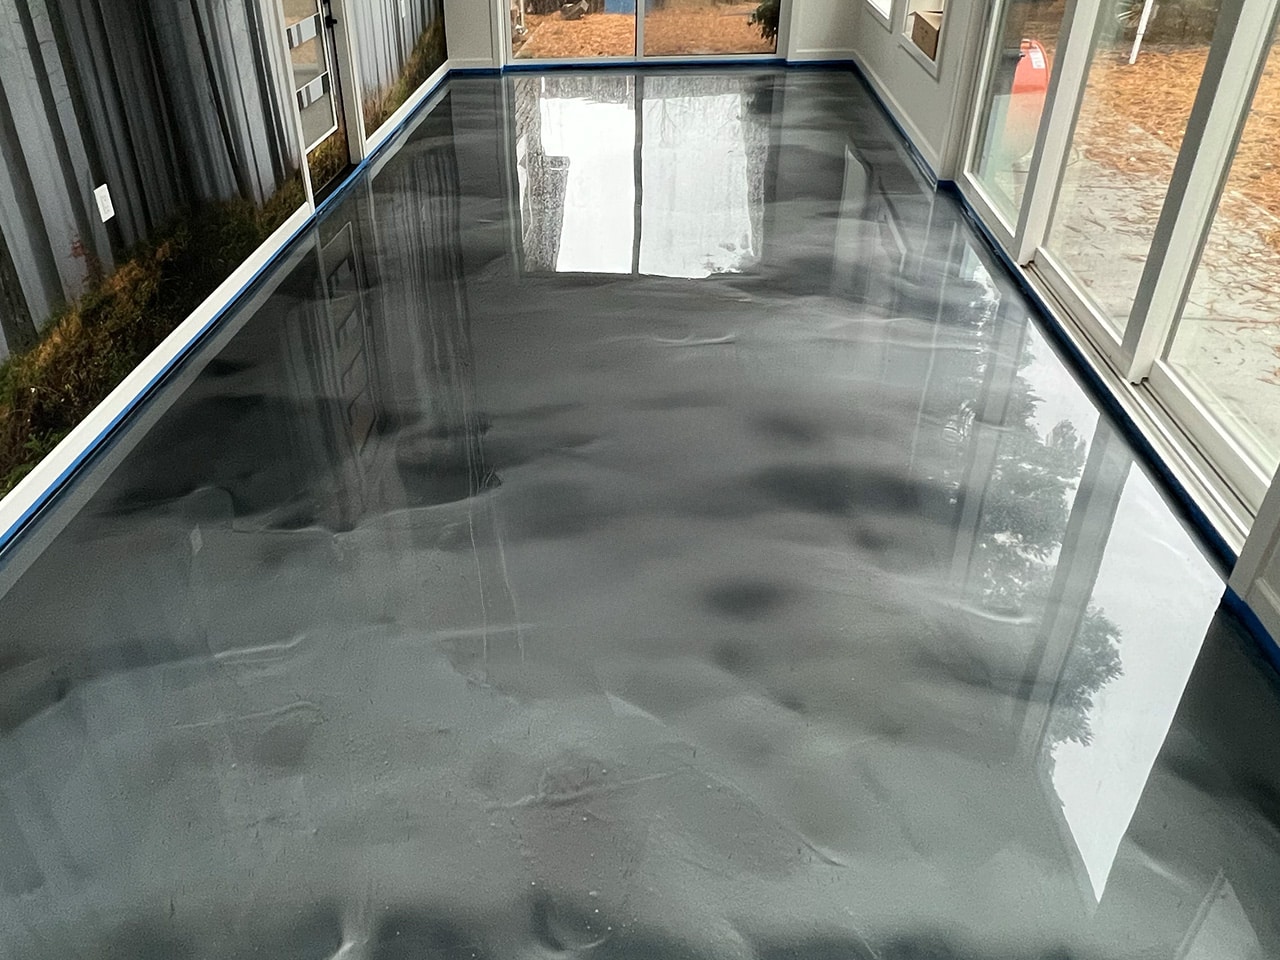
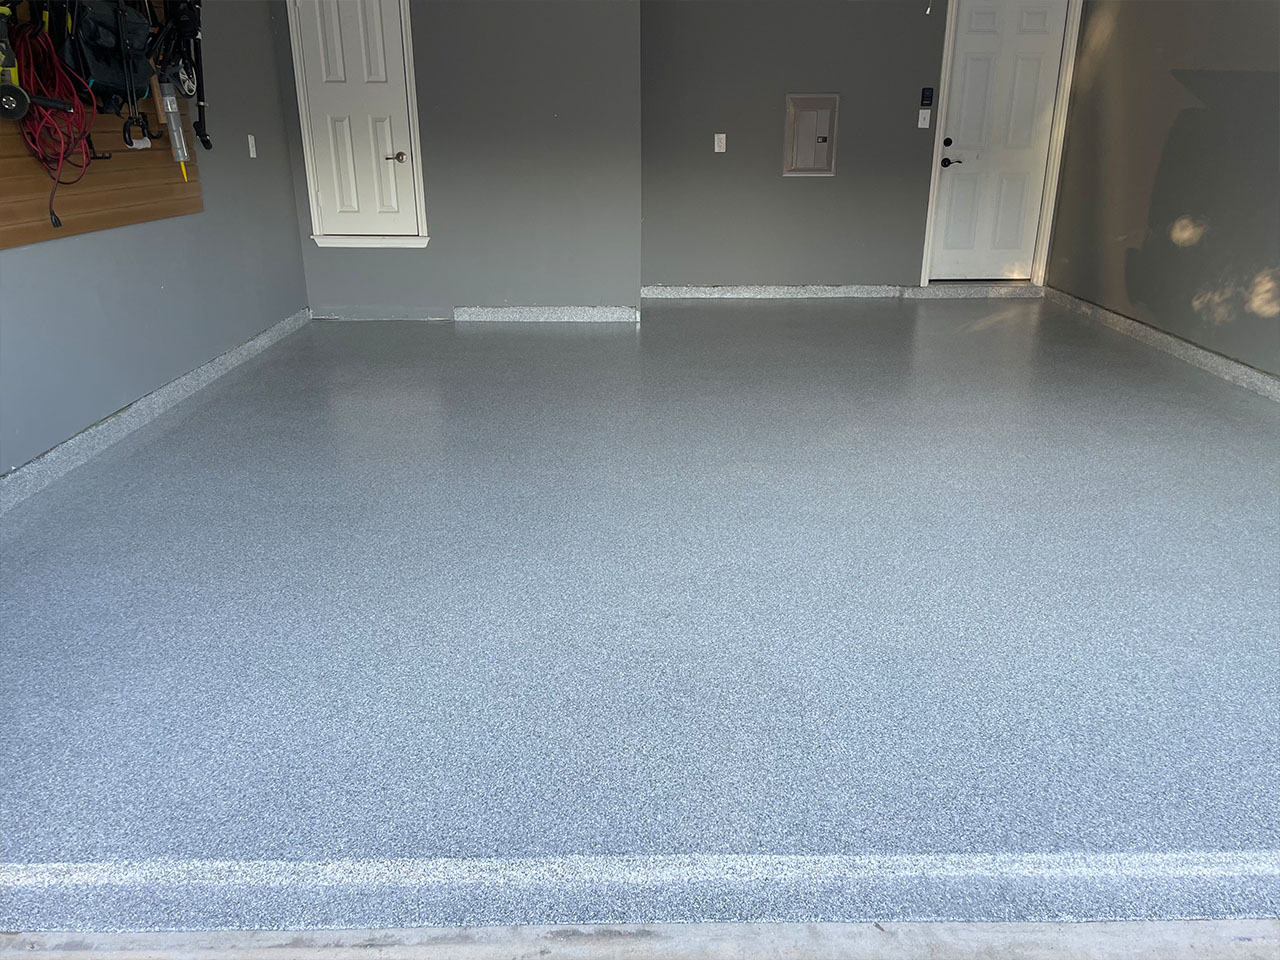
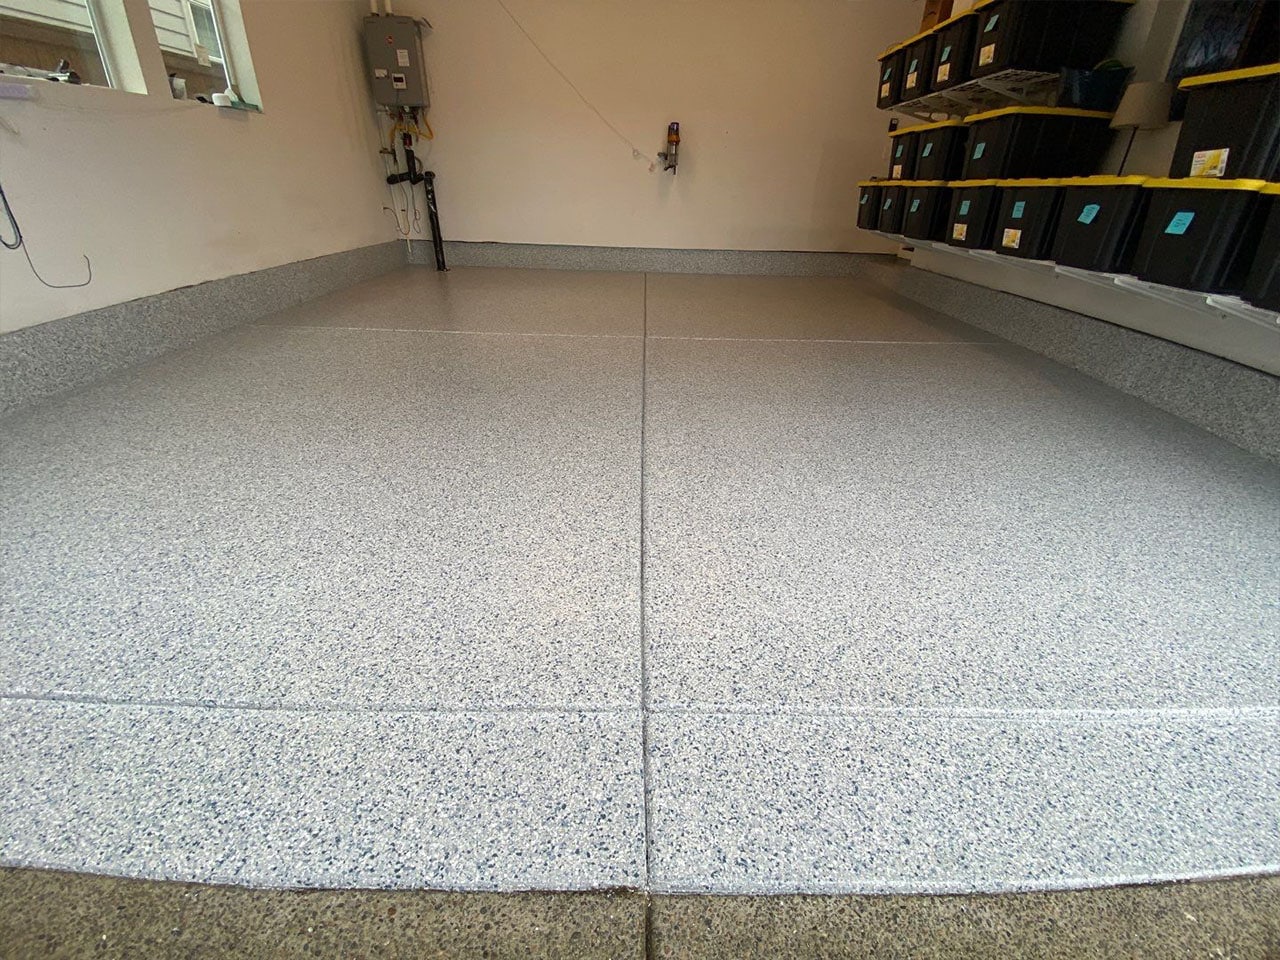
Applying epoxy to a concrete floor is a process that requires skill and precision. From proper preparation of the surface to the careful mixing and application of the epoxy, every step must be handled with care. Whether you are looking to create a high-gloss, seamless surface or simply protect your concrete from wear and tear, the right epoxy can make all the difference. As a professional, you know that attention to detail is key when it comes to any construction project. When it comes to applying epoxy to a concrete floor, taking your time and following best practices can help ensure that you achieve the desired results. So, put it down and get to work – your completed project will speak for itself.
Cleaning, prepping, and protecting the floor before starting a clear floor epoxy project is certainly a lot of work. However, with the right products and following the steps presented here, you can make sure that the end result looks great—and lasts! Before you go ahead and begin your clear floor epoxy project, remember to give yourself plenty of time and prepare accordingly. Now you have all the information needed to create a stunning finish that will look fabulous for years to come. Best of luck on your next clear floor epoxy project!
https://www.google.com/maps?cid=5908631269966364914


