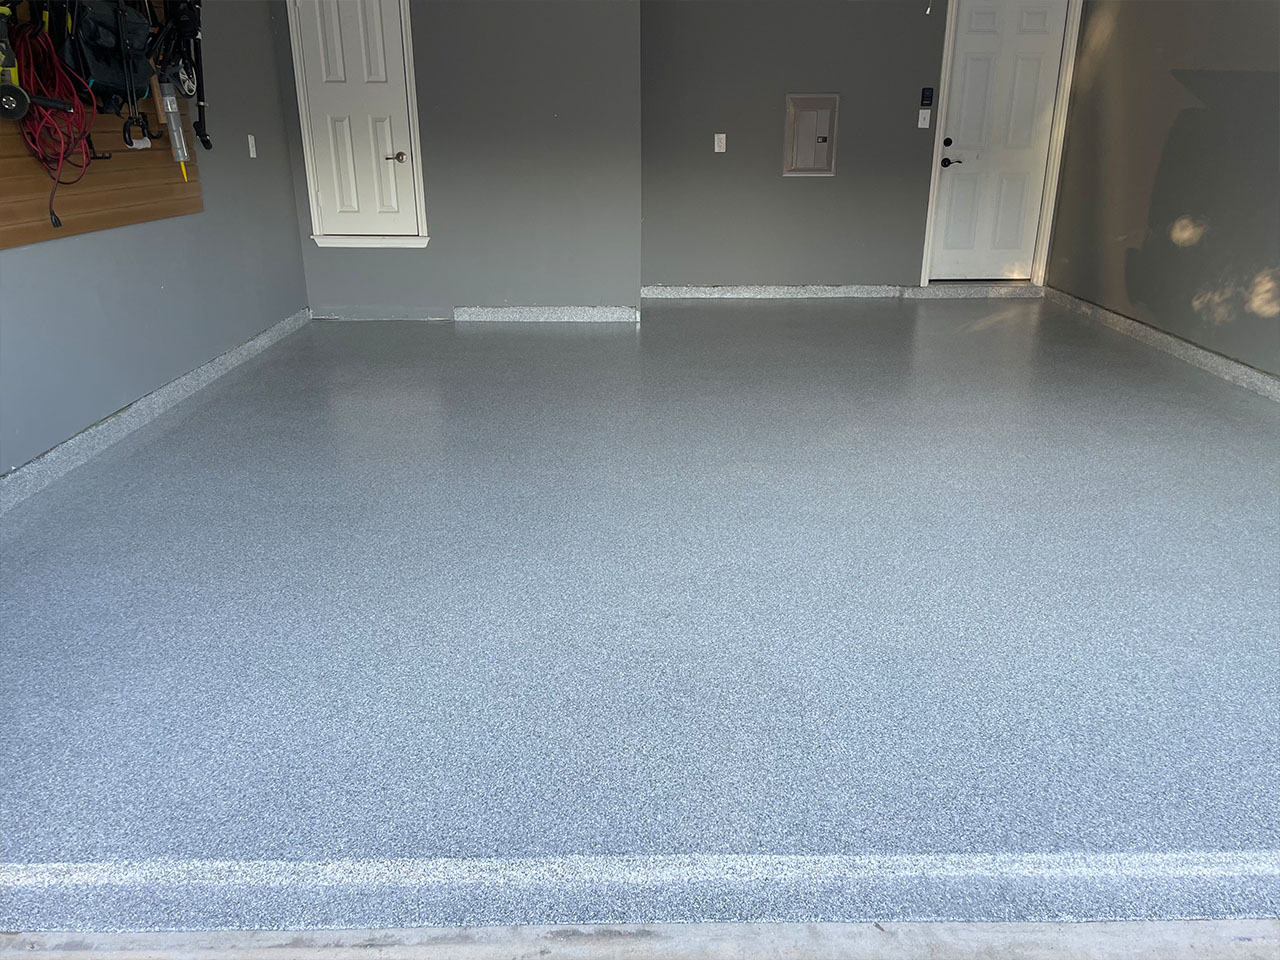
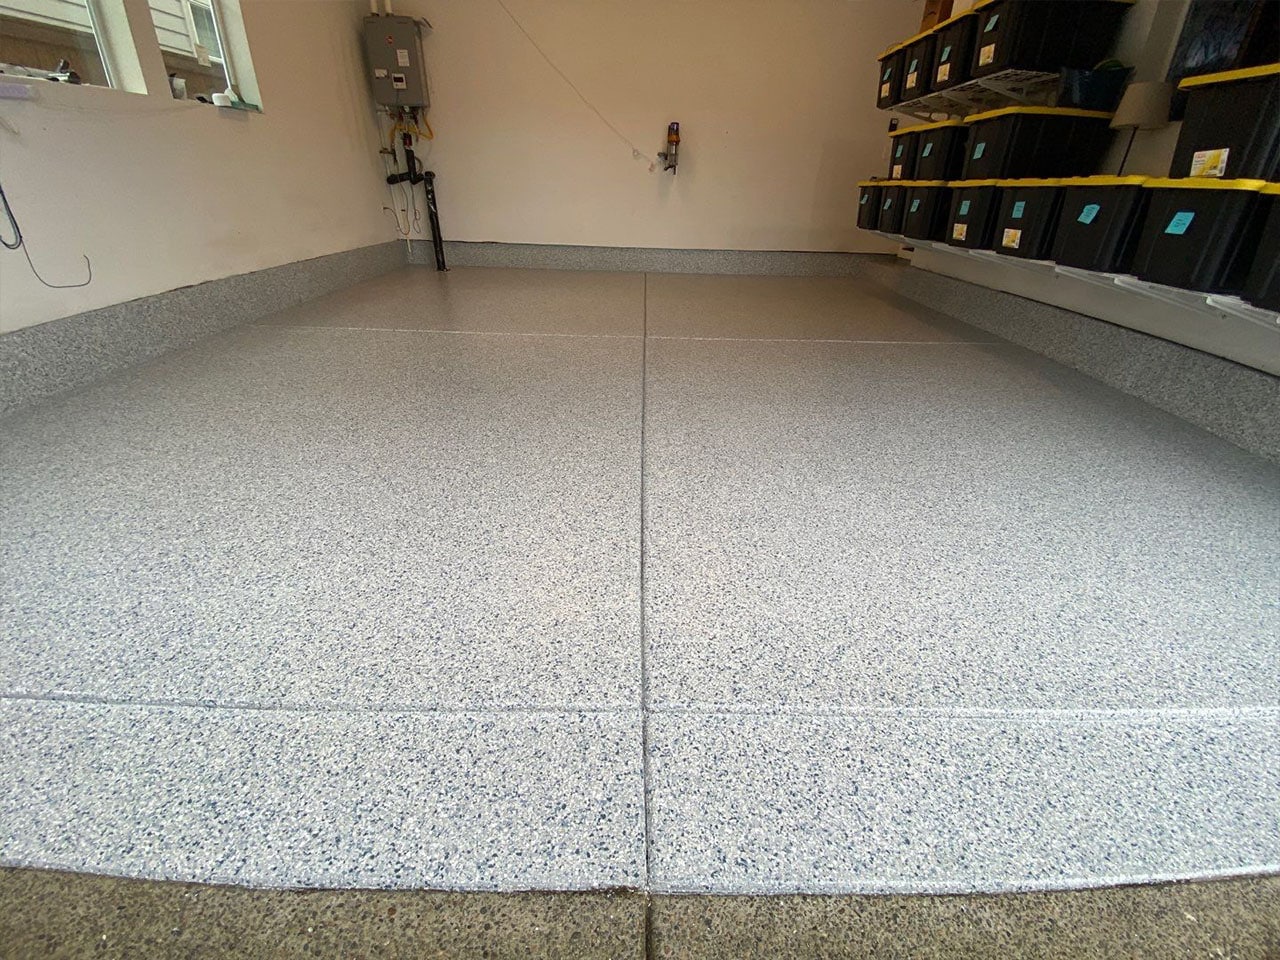
A Comprehensive Guide to Epoxy Garage Floors: Transform Your Space with a Durable and Stylish Coating
Transforming your garage into a functional and stylish space is easier than you think. One of the most effective ways to revitalize your garage is by applying an epoxy garage floors coating. This guide is designed for homeowners and small businesses looking to enhance their garage floors with a durable, attractive finish. From the basics of epoxy to a step-by-step application guide, we’ve got everything you need to get started.
What is Epoxy and Why Is It Ideal for Garage Floors?
Epoxy flooring is not just any ordinary coating; it’s a marvel of modern chemistry, a thermosetting resin that transforms into an incredibly tough and resilient surface when mixed with its partner in durability, a hardener. This process is what sets epoxy apart from traditional paint. Instead of merely drying, epoxy undergoes a chemical cure, bonding to surfaces with unparalleled strength. The result? A finish that’s not only stunning but virtually invincible to the common hazards of garage life. Here’s a closer look at why epoxy flooring is the superhero of garage spaces:
Durability
Imagine a floor that laughs in the face of dropped tools, withstands the comings and goings of heavy vehicles, and remains unscathed by the hustle and bustle of daily activities. That’s the power of epoxy. It’s engineered for endurance, making it the ideal choice for both the weekend warrior’s home garage and the high-demand floor of a commercial workshop.
Resistance
Garages are notorious for spills and stains — oil, antifreeze, and a myriad of chemicals find their way onto the floor. With epoxy, these worries become a thing of the past. Its resistance to spills means liquids sit on the surface, waiting for you to wipe them away without a trace. Water, too, poses no threat, ensuring that your floor remains pristine and slip-resistant, safeguarding against accidents.
Aesthetic
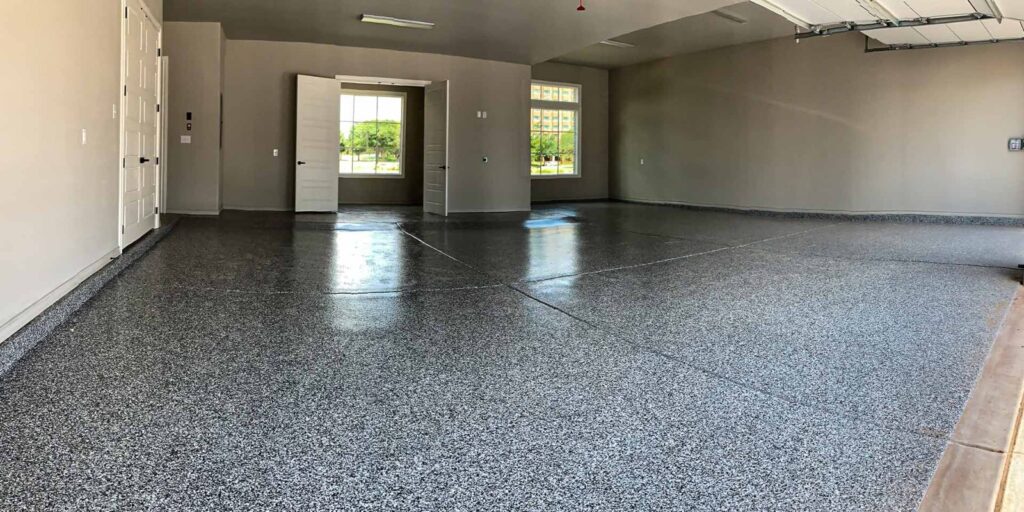
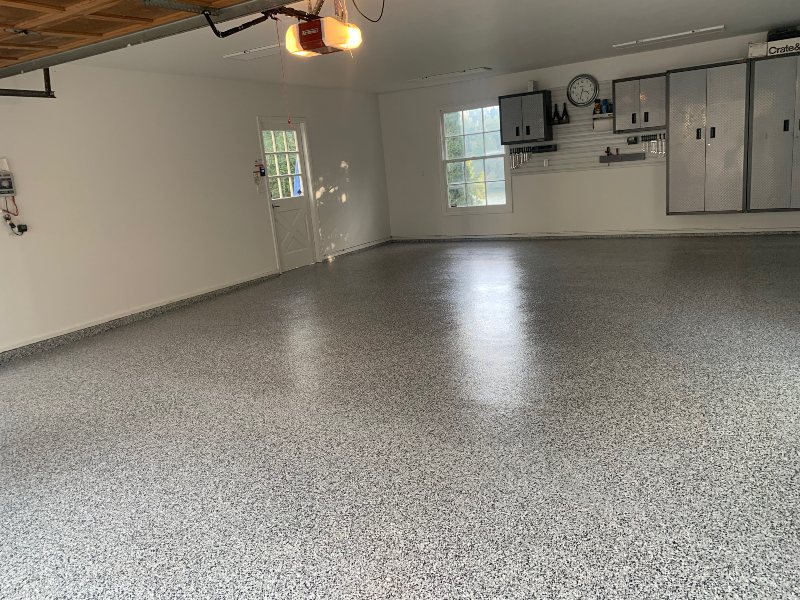
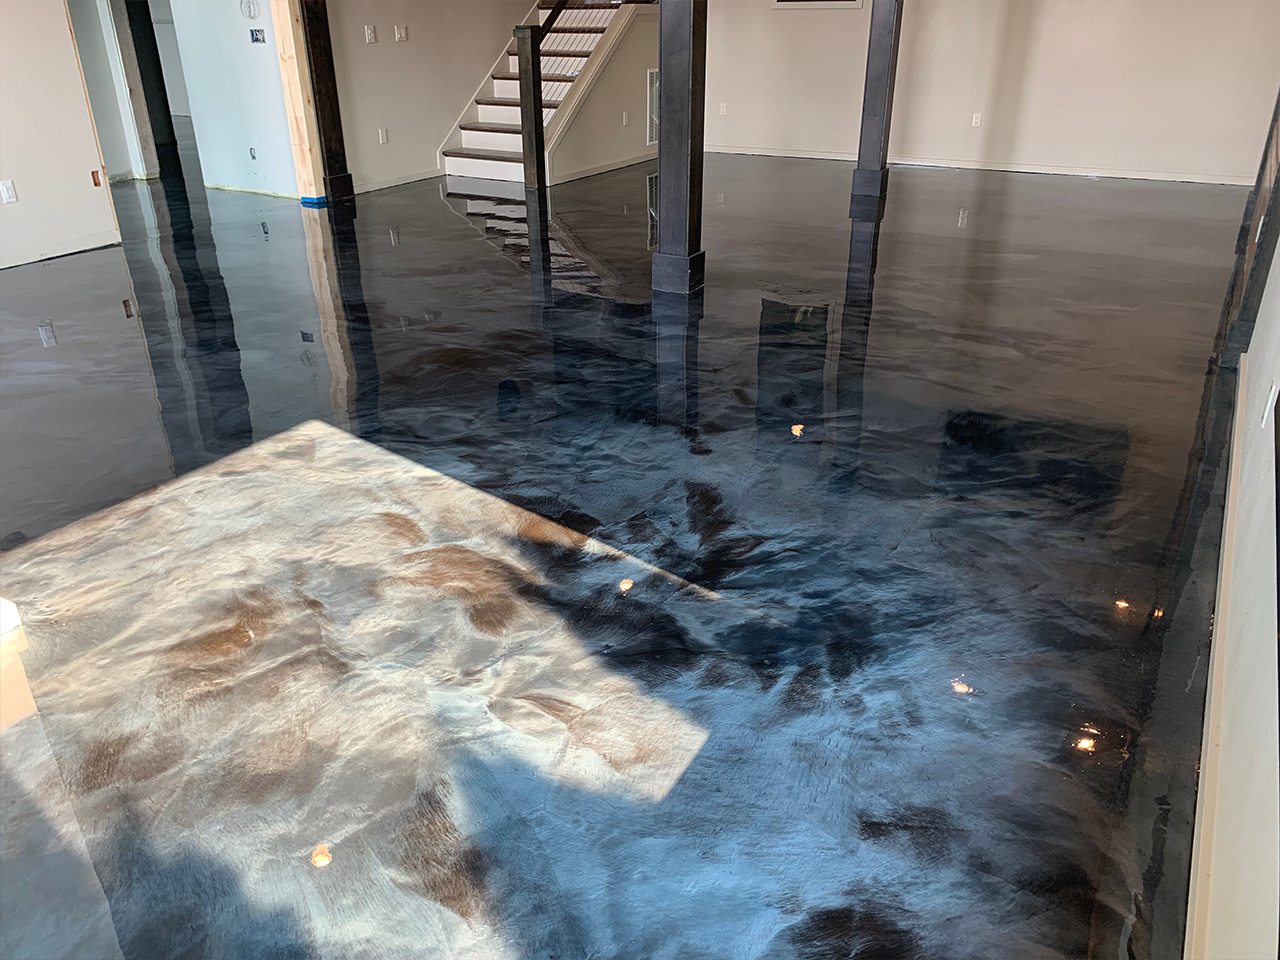
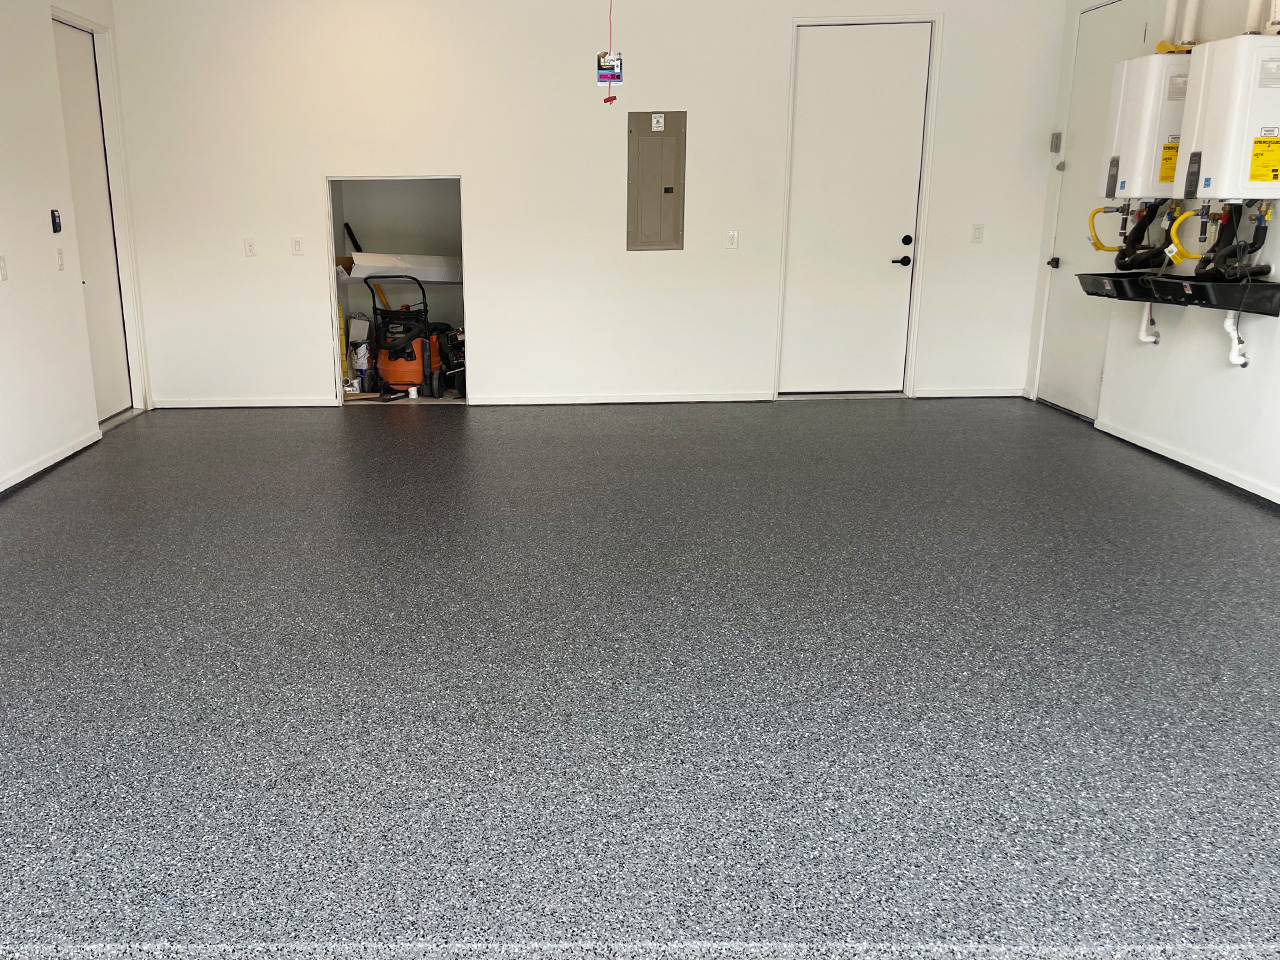
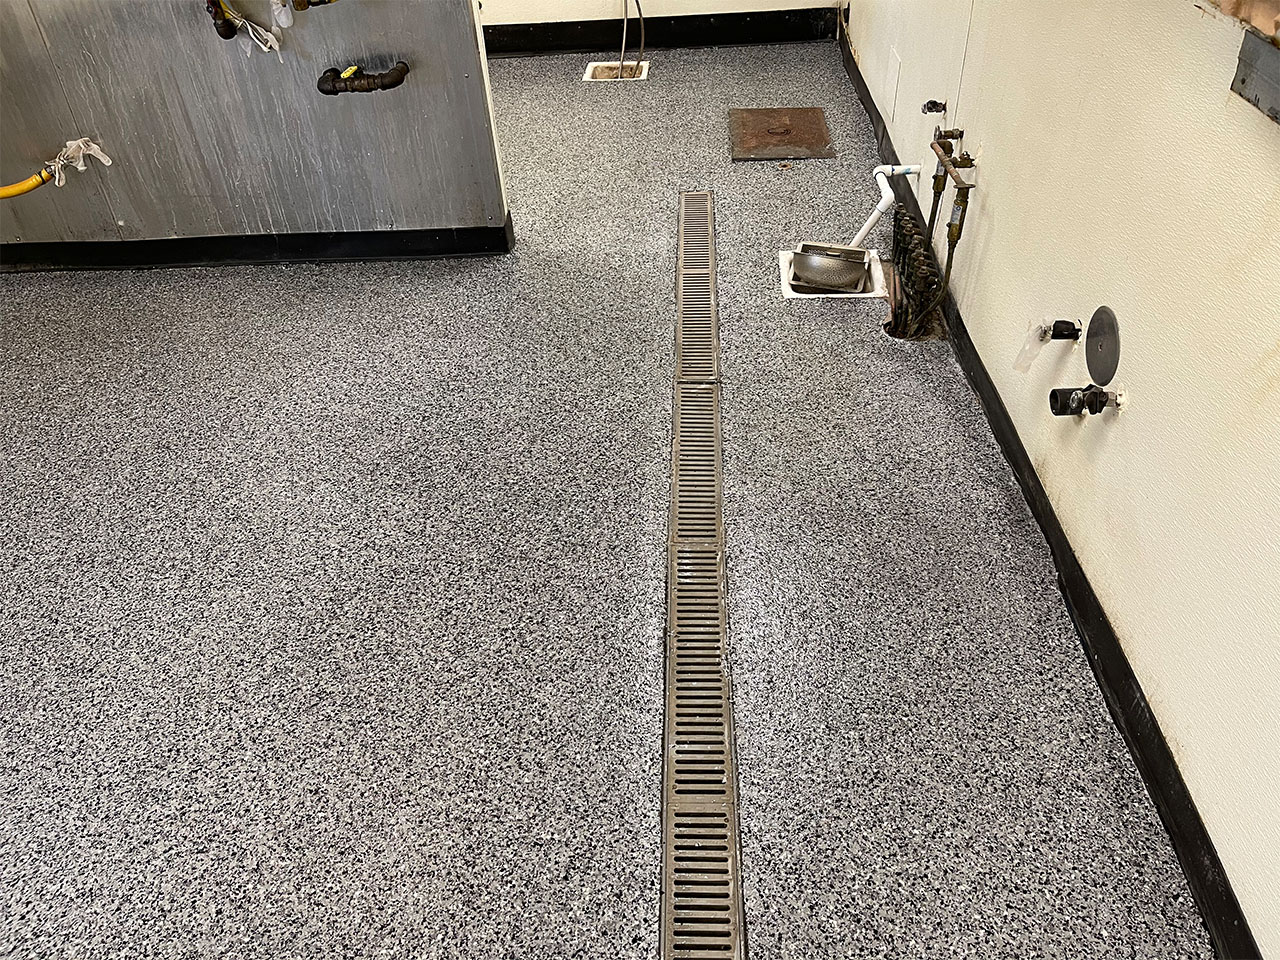
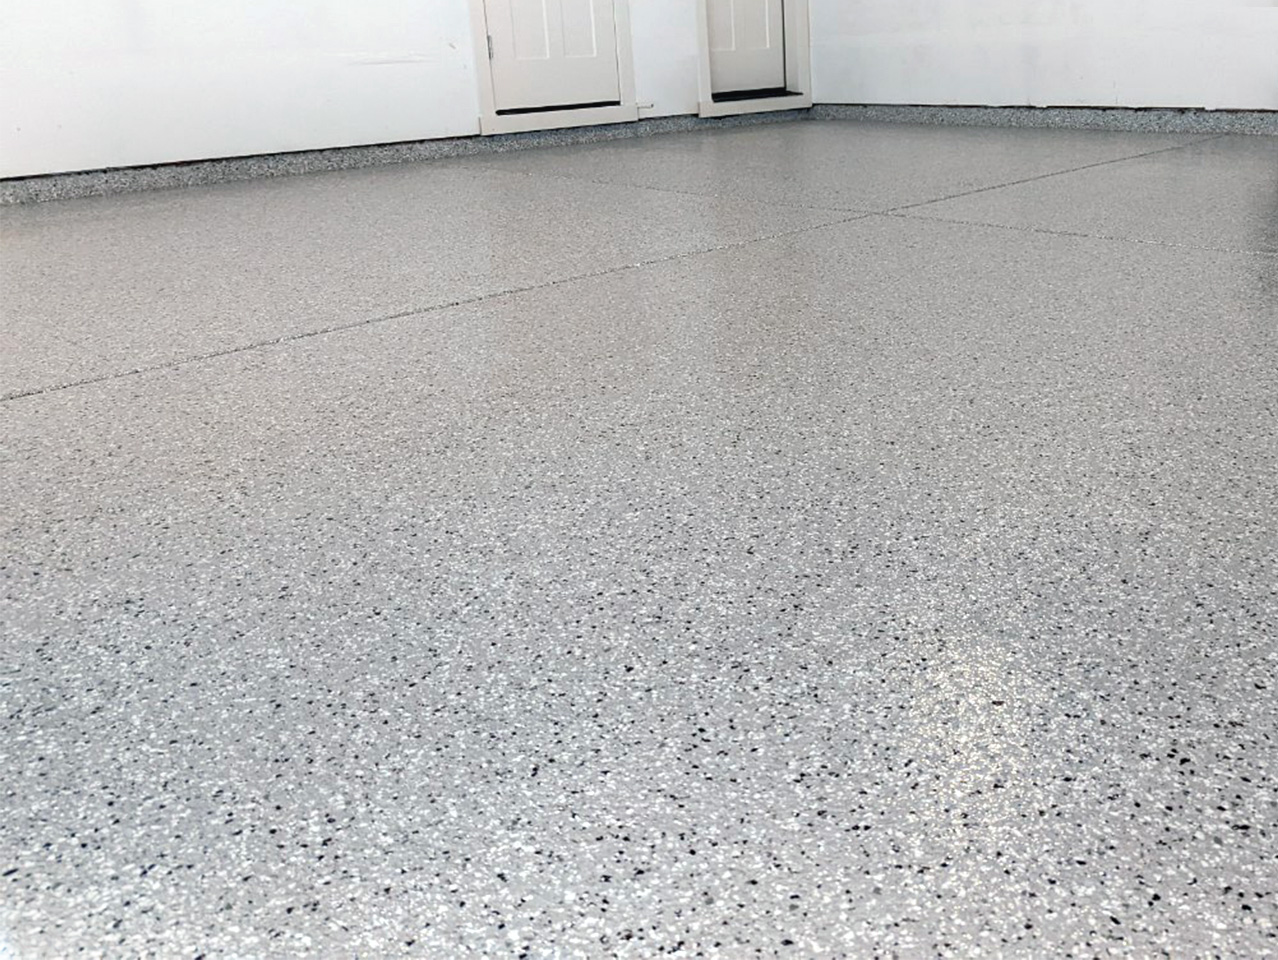
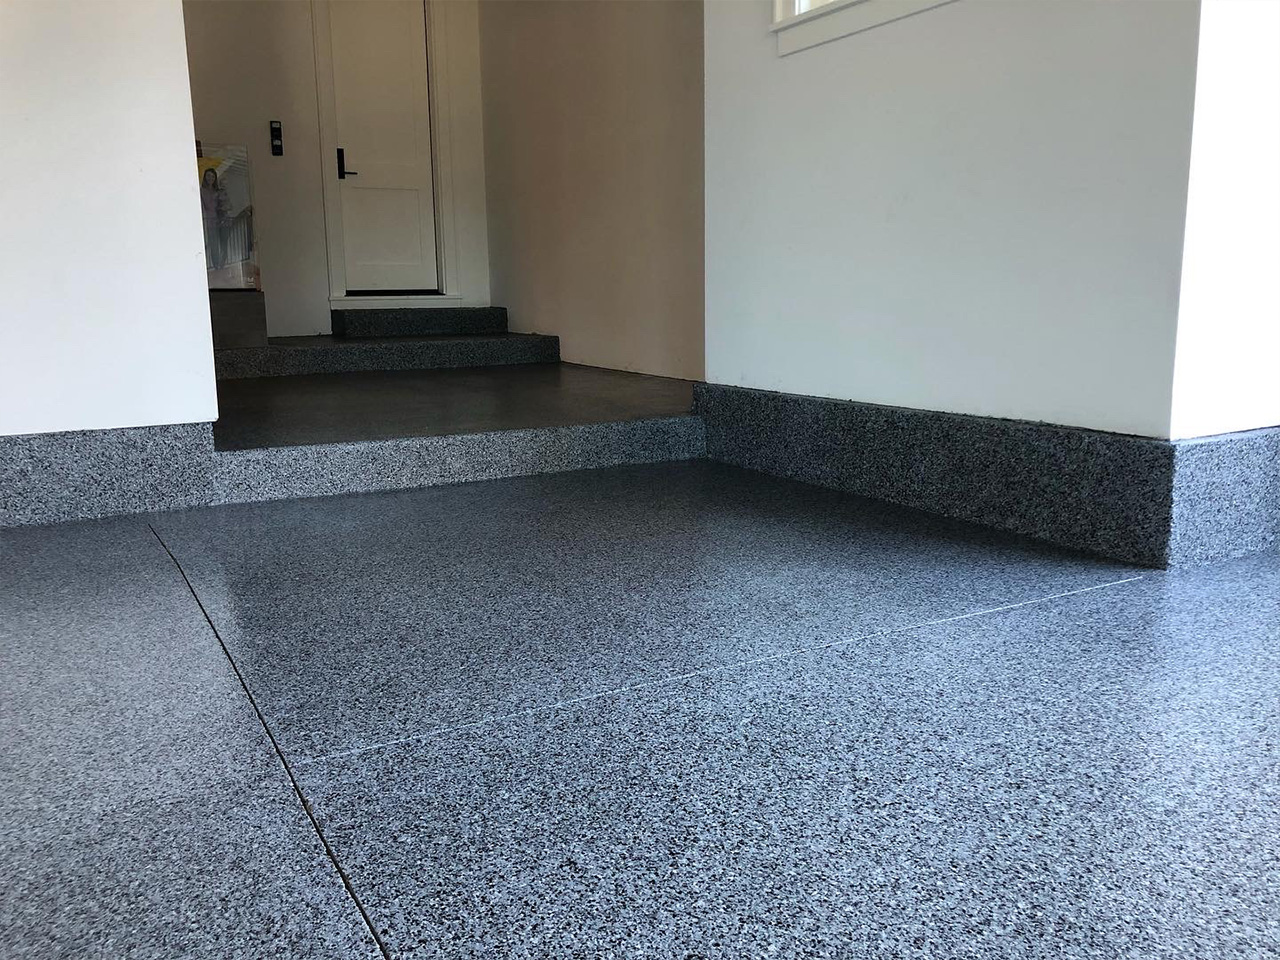
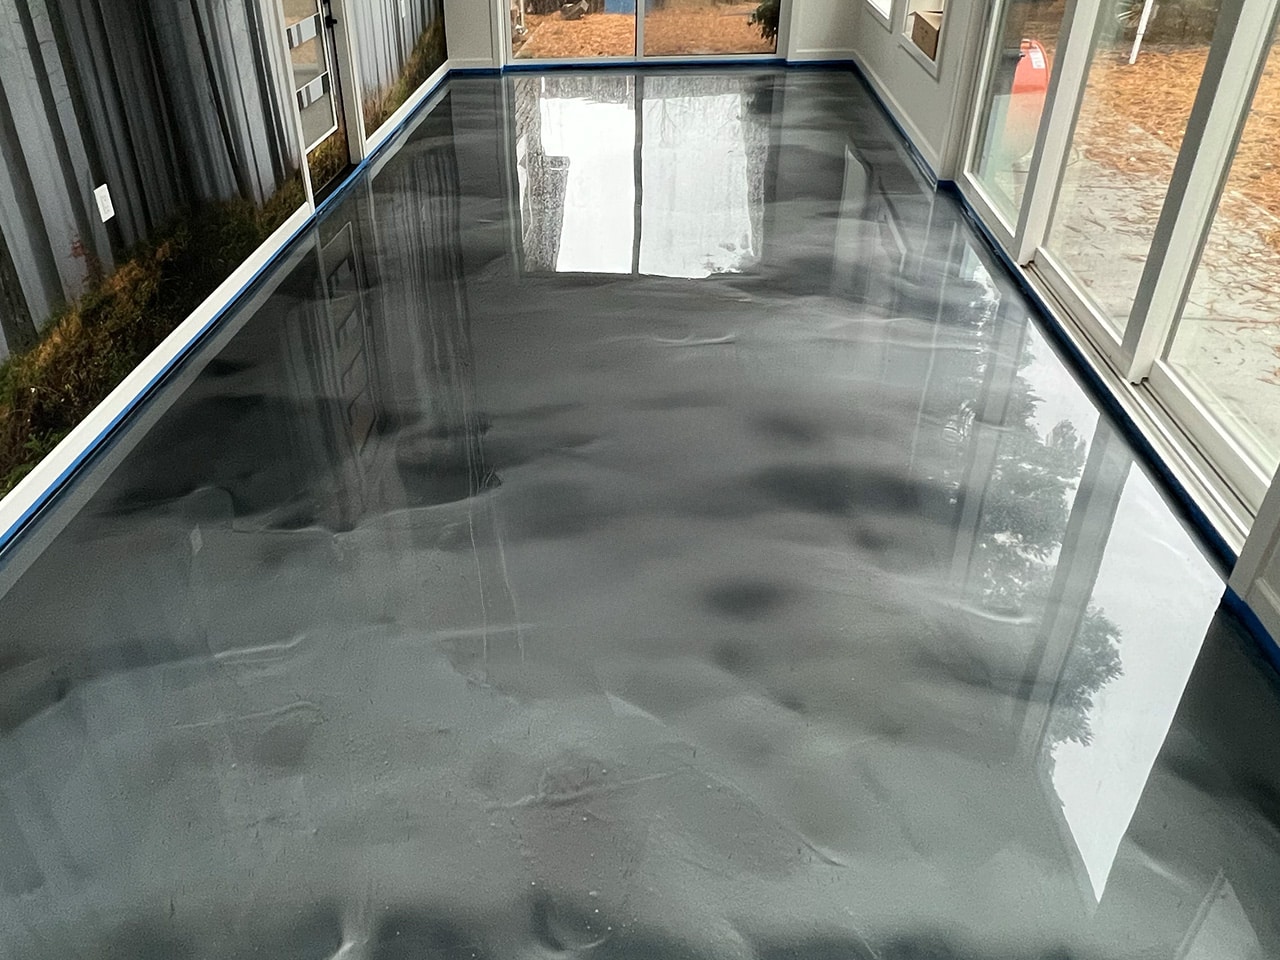
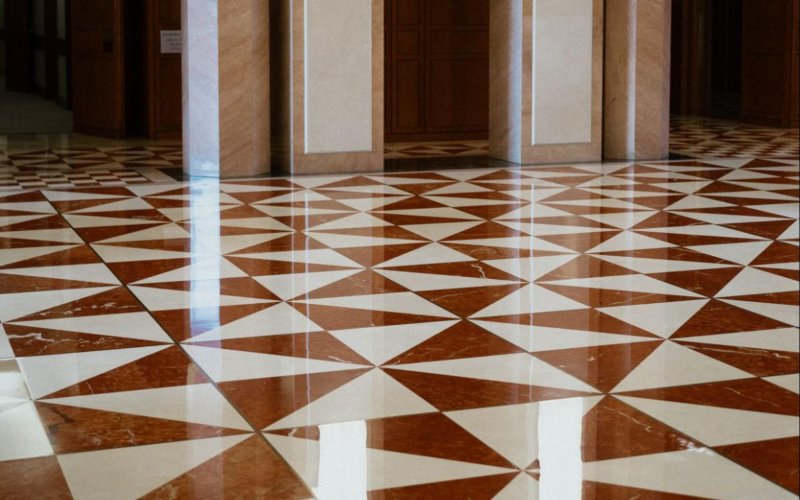
Who says garages have to be strictly utilitarian? Epoxy flooring offers an array of colors and finishes, transforming your space from drab to fab. Whether you’re after a sleek, single-color look or the dynamic depth of decorative flakes, epoxy can elevate the appearance of your garage to match your personal style or brand image.
Preparing for the Project
Materials and Tools Needed
Before you take the plunge into the world of epoxy magic, it’s essential to arm yourself with the right tools and materials. Imagine yourself as an artist, and your garage floor is the canvas. To create your masterpiece, you will need:
- Epoxy Resin: This is your paint, the very essence of your project.
- Hardener: Consider this the catalyst that brings your resin to life.
- Mixing Paddle & Roller with Extension Handle: Your brushes to blend and spread the magic across your canvas.
- Paintbrush: For those delicate strokes and intricate details.
- Decorative Flakes (Optional): The glitter in your paint, to add that touch of sparkle and personality to your work.
- And most importantly, Personal Protective Equipment (PPE) such as gloves, goggles, and a respirator mask, because your safety is the top priority.
Safety Precautions
Ensure your workspace is well-ventilated. Epoxy fumes can be potent, so wearing a respirator mask is crucial.
Preparing the Garage Floor for Application
The key to a successful epoxy application is surface preparation. Clean the floor thoroughly and repair any cracks. Acid etching or grinding is often necessary to create the right surface profile for epoxy adhesion.
Step-by-Step Application Process
The Perfect Mix
Begin your transformation by combining the epoxy resin with the hardener. It might sound like a simple task, but this step is crucial. You’ll want to follow the manufacturer’s instructions to the letter. The magic is in the details – the right ratio of resin to hardener will ensure your floor cures to perfection, offering durability and that glossy finish we all love.
Application Artistry
Now, with your epoxy mix ready, it’s time to apply it to your garage floor. Grab a roller and start at the back of the garage, gradually making your way towards the entrance. This methodical approach ensures you won’t box yourself in. Think of it as painting a vast canvas, where your roller is the brush, and the epoxy is your paint.
For those tricky edges and hard-to-reach spots, switch to a smaller brush. This technique, known as ‘cutting in,’ allows for precision and ensures every inch of your garage floor is covered, leaving no stone unturned.
The Secret to a Smooth Finish
The secret ingredient to a perfectly smooth and even finish is working in small sections. This approach allows you to maintain what’s known as a ‘wet edge,’ a technique that helps prevent lines and guarantees a seamless look across the entire floor.
And for an added touch of personality, why not sprinkle some decorative flakes over the wet epoxy? This not only adds texture and depth to your floor but also allows you to customize the space to reflect your style. Scatter them as you go, and watch as your floor transforms from a plain surface to a work of art.
The Art of Curing and Perfecting Your Epoxy Floors
The Journey to Full Strength: Understanding Epoxy Cure Times
Epoxy, a marvel of modern flooring solutions, undergoes an intriguing transformation from liquid to solid. This process, known as curing, is a dance of chemistry and time. Typically, the initial set allows for cautious exploration on foot within a mere 24 hours. Yet, to achieve its full prowess, epoxy requests a patience of 72 hours. It’s during this period that it solidifies its bond, promising you a floor that’s both resilient and reliable.
Keeping Your Epoxy Floor Pristine: Tips for Maintenance
The allure of epoxy floors doesn’t just lie in their robustness but also in their surprisingly low upkeep. To maintain their luster, a simple routine suffices. A gentle sweep to banish dust and debris, paired with the occasional mop using a mild detergent, keeps the surface inviting and immaculate. It’s important, however, to steer clear of abrasive cleaners; their harshness can mar the epoxy’s splendid finish, dulling its shine.
Elevating Your Floor: The Secret to Extra Durability and Luminosity
While epoxy floors stand the test of time and toil, an additional layer of armor can elevate them from durable to almost indestructible. Once the base layer has confidently cured, introducing a clear epoxy or polyurethane topcoat can be transformative. This extra veil not only shields your floor from the vagaries of life but also bestows an extra dose of gleam, ensuring that your floors don’t just endure but dazzle.
The Great Debate: DIY vs. Hiring the Pros for Your Epoxy Flooring Project
When it comes to upgrading your space with an epoxy floor, the question isn’t just about choosing the right color or finish. It’s also about deciding between rolling up your sleeves and doing it yourself or handing the project over to a team of professionals. Both routes have their perks and pitfalls, and today, we’re here to explore every angle to help you make the best choice for your project.
Cost Considerations: Savings vs. Investment
DIY Approach: Opting to DIY your epoxy flooring project can certainly be kinder to your wallet at first glance. It’s an attractive option for those ready to invest their time and energy into learning a new skill while saving some cash. But remember, the cost isn’t just monetary—it’s also about the time and effort you’re willing to put in.
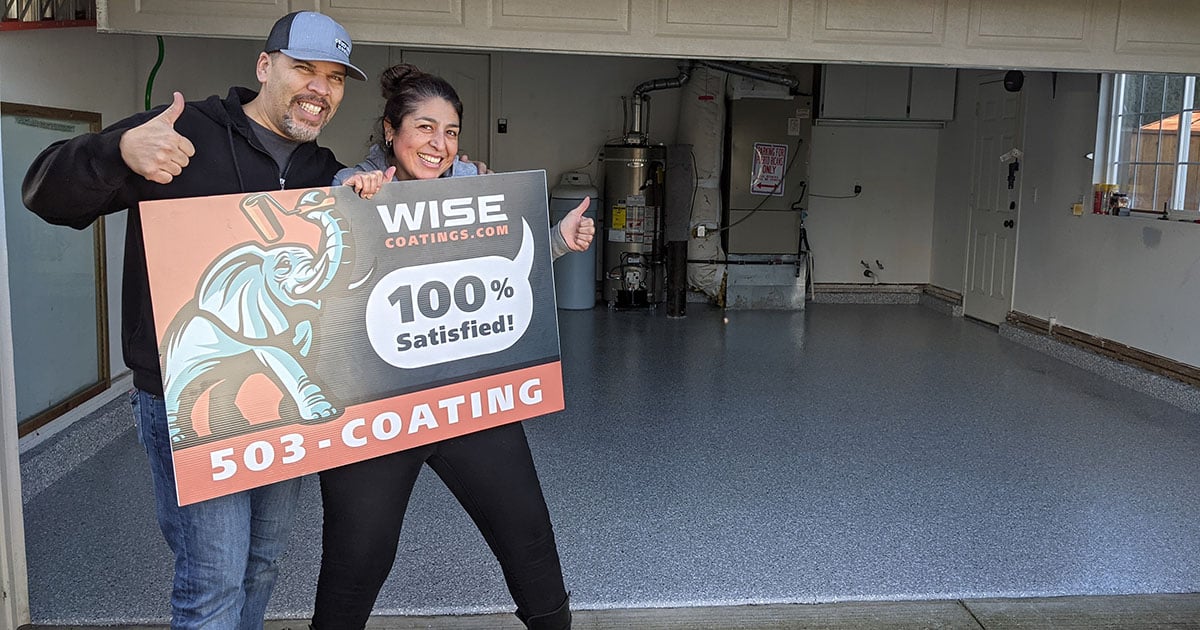
Professional Installation: On the flip side, hiring professionals does mean a higher initial cost. However, what you’re paying for is not just the material but also the expertise, the specialized equipment, and the peace of mind that comes with a guarantee of quality. It’s an investment in a hassle-free process and a flawless finish.
Weighing the Challenges and Triumphs
DIY Triumphs and Trials: Embarking on a DIY epoxy installation is undoubtedly rewarding. That sense of achievement when you look at your finished work? Priceless. However, the path there is strewn with potential hurdles. From the risk of mixing the resin and hardener incorrectly to the possibility of uneven application, the DIY route tests your patience and prowess.
Professional Perfection: Professional installers are the seasoned veterans of the epoxy world. They come armed with the right tools and a wealth of experience, ensuring each layer is perfect and every finish is as smooth as glass. Their expertise not only minimizes the risk of mistakes but also guarantees a finish that’s as durable as it is beautiful.
Making the Choice That Fits You Best
Before you decide, take a moment to assess:
- Your Budget: How much are you willing to spend?
- Your Timeframe: When do you need this project completed?
- Your Skill Level: Are you handy with home improvement projects, or is this your first rodeo?
Your answers to these questions will be your guiding stars in making the choice that best suits your needs and desires.
Answering Your Burning Questions
Slippery Situations: Concerned about your new epoxy floor turning into a slip-n-slide? While it’s true that epoxy can be slick when wet, incorporating slip-resistant additives during the installation process can keep you on your feet.
Overcoming Old Obstacles: Wondering if you can breathe new life into an existing surface with a fresh coat of epoxy? Absolutely! The key is in the preparation—make sure the old coating is sanded down to create a rough surface for the new epoxy to cling to.
Bubbling Troubles: If you notice bubbles surfacing in your freshly poured epoxy, don’t panic. This common issue often arises from mixing too vigorously. A gentle pass with a heat gun can smooth things out, leaving you with a surface that’s as smooth as a calm lake at dawn.
Conclusion
Epoxy garage floors offer a winning combination of durability, resistance, and aesthetic appeal. Whether you choose to DIY or hire a professional, transforming your garage with an epoxy coating is a worthwhile investment. With the right preparation and application, you can enjoy a stunning, high-performance floor that stands the test of time. Ready to transform your garage? The results might just floor you!


