Best Garage Floor Coating: Tips and Tricks for Longevity
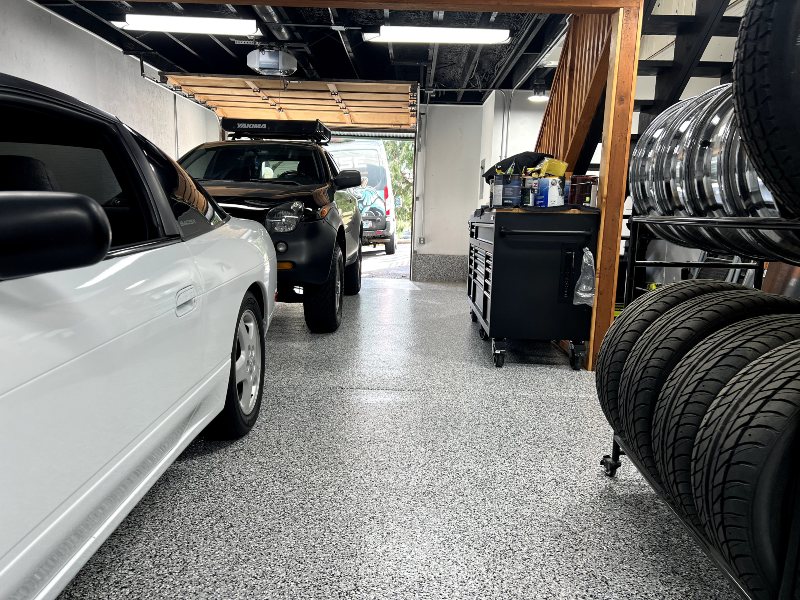
Imagine stepping into your garage to find it transformed from a mere storage space or car park into a visually appealing, highly functional area that sparks joy every time you enter. The secret? A well-protected garage floor that not only withstands the test of time but also elevates the overall ambiance of your space. But how do you achieve this feat in an area known for heavy traffic, spills, and wear and tear? The answer lies in understanding the right protection strategies and maintenance tricks to extend the life and beauty of your garage floor.
Choosing the Right Coating: Epoxy vs. Polyaspartic
When it comes to selecting the best garage floor coating, homeowners are often faced with the decision between epoxy and polyaspartic coatings. Epoxy has been a popular choice for years, known for its robustness and ability to adhere well to concrete surfaces. It offers a thick coating that can resist stains and moisture, making it a practical option for many. However, despite its benefits, epoxy can be susceptible to wear over time, particularly in areas with heavy traffic or extreme temperature fluctuations.
On the other hand, polyaspartic coatings have emerged as a strong contender, boasting superior durability and flexibility compared to epoxy. This resilience makes polyaspartic an ideal choice for garages that experience significant temperature changes, as it can expand and contract without cracking. Additionally, polyaspartic coatings are recognized for their rapid curing times and resistance to UV light, spills, and abrasions, ensuring that the garage floor not only looks impressive but also maintains its integrity for a longer period. Thus, while both options have their merits, the specific needs of the garage environment and the homeowner’s priorities play a crucial role in determining the most suitable floor coating.
Preparation Is Key: Correctly Preparing Your Floor
Before embarking on the journey of coating your garage floor, whether with epoxy or polyaspartic, the critical first step is always preparation. The success of the floor coating hinges on how well the surface is prepped, ensuring that the coating adheres properly and lasts for years to come. Proper preparation involves thoroughly cleaning the floor and removing any oil stains, debris, and dust that could impede the bonding process. It’s not just about cleanliness; it’s about creating the ideal surface for the coating to cling to.
Moreover, profiling the concrete by opening up its pores is a crucial aspect of the preparation phase. This can involve grinding or acid etching, processes that create a rougher surface texture, enhancing the coating’s ability to penetrate and bond with the concrete. Skipping or skimping on these preparatory steps can lead to premature peeling and cracking of the floor coating, undermining the effort and investment put into beautifying and protecting your garage floor. Thus, meticulous preparation is the cornerstone of a successful garage floor coating project, setting the stage for a durable and aesthetically pleasing outcome.
Application Techniques for a Lasting Finish
Applying a garage floor coating is a meticulous process that, when done correctly, results in a durable and visually appealing surface. The key to a lasting finish lies in the application technique. Most professionals recommend using a roller for an even application, ensuring that the coating spreads uniformly across the surface. This method helps avoid the formation of bubbles and inconsistencies that can compromise the integrity and appearance of the floor. Additionally, working in manageable sections and maintaining a wet edge is crucial to prevent lines and marks that occur when partially dried coatings overlap.
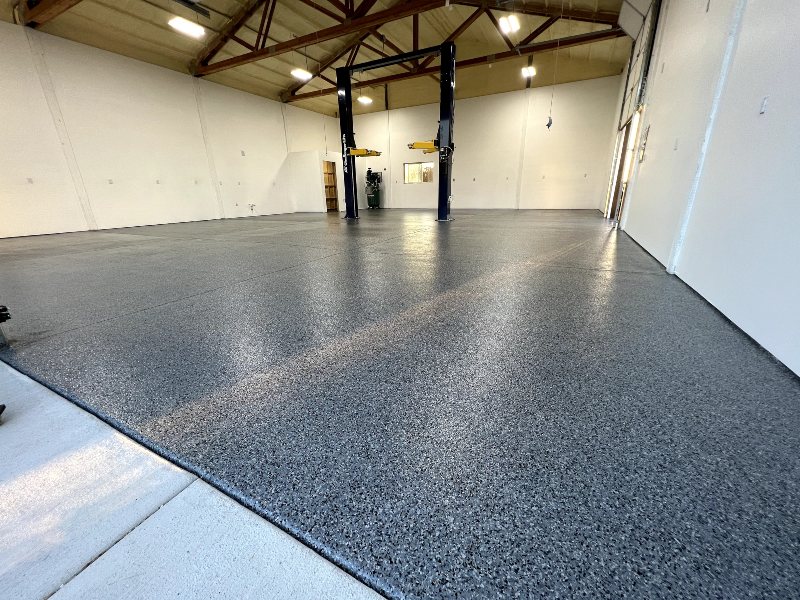
Beyond the initial application, the curing process plays a significant role in achieving a long-lasting finish. It’s essential to allow the coating ample time to cure fully, a step often overlooked in the rush to complete the project. Temperature and humidity levels can affect curing times, so adjustments may be necessary based on the specific conditions of the garage. A properly cured floor not only enhances durability but also contributes to the overall aesthetic, providing a smooth, glossy surface that resists wear and tear over time. By focusing on these application and curing techniques, homeowners can ensure their garage floor coating withstands the test of time, offering both protection and beauty.
Maintenance Must-Dos: Keeping Your Floor in Top Shape
Maintaining the integrity and appearance of your garage floor coating is essential for ensuring its longevity and durability. Regular cleaning is paramount, with simple tools such as a mop or deck-scrubbing brush being highly effective for removing dirt and debris. For tougher stains, a soft scrubbing pad can provide the extra power needed without damaging the surface. It’s also important to immediately address spills to prevent them from setting in and causing permanent marks. Sweeping the floor regularly helps to keep abrasive particles at bay, which can scratch and wear down the coating over time.
In addition to routine cleaning, the maintenance of a coated garage floor involves periodic deep cleaning to preserve its glossy finish. Avoiding harsh chemicals like vinegar or citrus-based cleaners is crucial, as their acidity can degrade the coating. Instead, opting for pH-neutral cleaning solutions ensures the floor remains unharmed. Waxing may be recommended in some cases to provide an additional layer of protection against abrasion, although it’s not always necessary. By adhering to these maintenance must-dos, homeowners can enjoy a pristine, high-performing garage floor that stands up to the rigors of daily use and continues to look great for years to come.
Addressing Repairs: When and How to Fix Cracks and Chips
Addressing cracks and chips in your garage floor coating is a crucial step to ensure the longevity and aesthetic appeal of the surface. It’s vital to tackle these repairs before they expand or deepen, potentially compromising the structural integrity of the flooring. The timing of repairs is just as important as the repair process itself; acting swiftly upon noticing any imperfections can prevent further damage. Preparing the affected area by cleaning it thoroughly ensures that no debris or dust hampers the repair process. Utilizing the right materials for filling cracks and chips is essential for a seamless restoration, with options ranging from epoxy fillers to concrete resurfacers depending on the extent of the damage.
The method of repair varies based on the size and severity of the crack or chip. For smaller imperfections, a simple application of a suitable filler followed by smoothing out the surface may suffice. However, larger cracks might require more extensive preparation, including the use of bonding adhesives before filling to ensure the repair material adequately adheres to the existing surface. After the repair, allowing ample time for curing is critical to achieving a durable finish. In some cases, sanding the repaired area might be necessary to achieve a smooth, uniform appearance that blends seamlessly with the surrounding floor. By following these guidelines, homeowners can effectively repair cracks and chips, restoring their garage floor coating to top condition.
The Impact of Climate: Adapting Your Care Routine
The impact of climate on garage floor coatings cannot be overstated, necessitating adaptations in care routines to maintain their condition and appearance. In regions experiencing extreme temperature fluctuations, it’s imperative to consider the thermal expansion and contraction of the coating materials. This natural response can lead to cracks or delamination if not properly managed. Therefore, maintaining a stable environment within the garage, as much as possible, helps mitigate these effects. Additionally, in areas with high humidity or moisture, ensuring adequate ventilation and moisture control is crucial in preventing the buildup of condensation under the coating, which can weaken its adhesion to the concrete.
Adapting your care routine also means being vigilant during seasonal changes. Winter brings its own set of challenges, such as the corrosive effects of road salts and freeze-thaw cycles that can damage unprotected floors. Regular cleaning to remove salt and debris can prevent these materials from penetrating the coating and causing deterioration. Conversely, in summer, protecting the coating from prolonged exposure to UV light can help in preserving its color and finish. Understanding these environmental impacts and adjusting maintenance practices accordingly ensures that your garage floor coating remains in top shape, effectively extending its lifespan and maintaining its functionality and aesthetic appeal.
Conclusion
Your garage floor doesn’t just have to be functional; it can also be a reflection of your style and attention to detail. By choosing the right floor coating, preparing the surface correctly, applying it with care, and following through with proper maintenance, you can ensure your garage floor remains protected, beautiful, and durable for years to come. Embrace these tips and tricks for garage floor longevity, and watch as your garage transforms into a space that is as inviting as it is practical. Remember, a little effort goes a long way in preserving the value and appeal of your home.


