Everything You Need to Know About Epoxy Garage Floor Cost: A Comprehensive Guide
Are you considering a garage floor upgrade but not sure how much epoxy coating will cost? You’re not alone! Many homeowners invest in epoxy flooring for their garages due to the myriad benefits it provides – durability, low maintenance, and a glossy finish that gives any space an elevated look. But before investing in this popular renovation option, understanding its costs is essential. In this comprehensive guide, we cover everything you need to know about epoxy garage floor cost so that you can make an informed decision on your renovation project.
Benefits of Installing Epoxy Garage Floor
If you’re looking to upgrade your garage, installing an epoxy garage floor can provide numerous benefits. For starters, epoxy floors are incredibly durable, able to withstand heavy foot traffic, and are resistant to stains, chemicals, and abrasions. This makes them an ideal choice for not only your vehicles but also for any other projects, hobbies, or storage needs you may have in your garage. Additionally, the sleek, shiny finish of an epoxy floor can help brighten up your space and make it feel more aesthetically pleasing. Plus, epoxy floors are easy to clean and maintain, requiring minimal effort to keep them looking their best. Overall, investing in an epoxy garage floor can transform your garage into a more functional and enjoyable space.

Types of Epoxy Garage Floor Solutions
There are several types of epoxy solutions you can consider for your garage floor, each offering unique advantages.
- Standard Epoxy Floor Coating: This is the most common type, offering durability and a glossy finish. It’s a cost-effective choice and comes in a variety of colors.
- Self-Leveling Epoxy Floor: This type of epoxy is thicker and can help level out uneven garage floors. It provides a smooth and seamless surface.
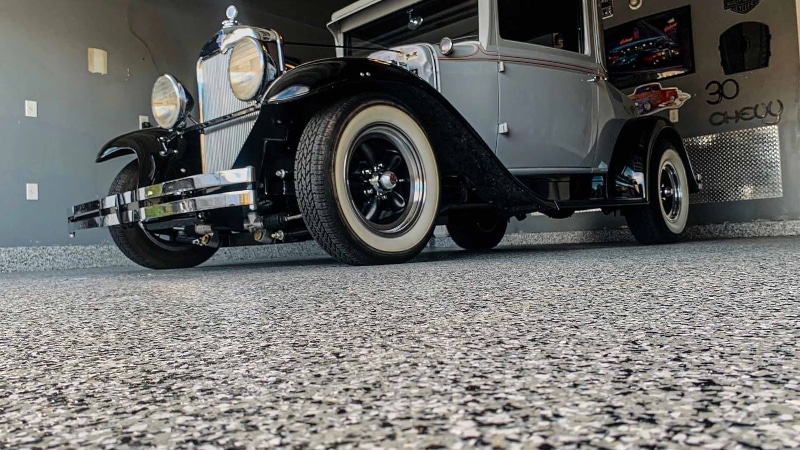
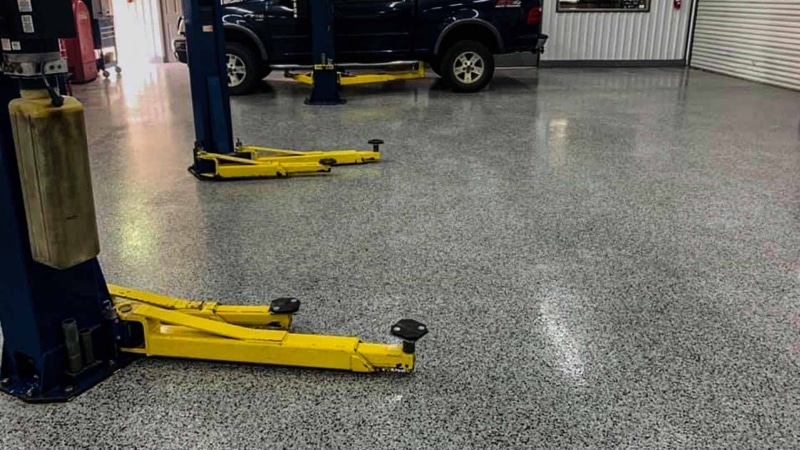
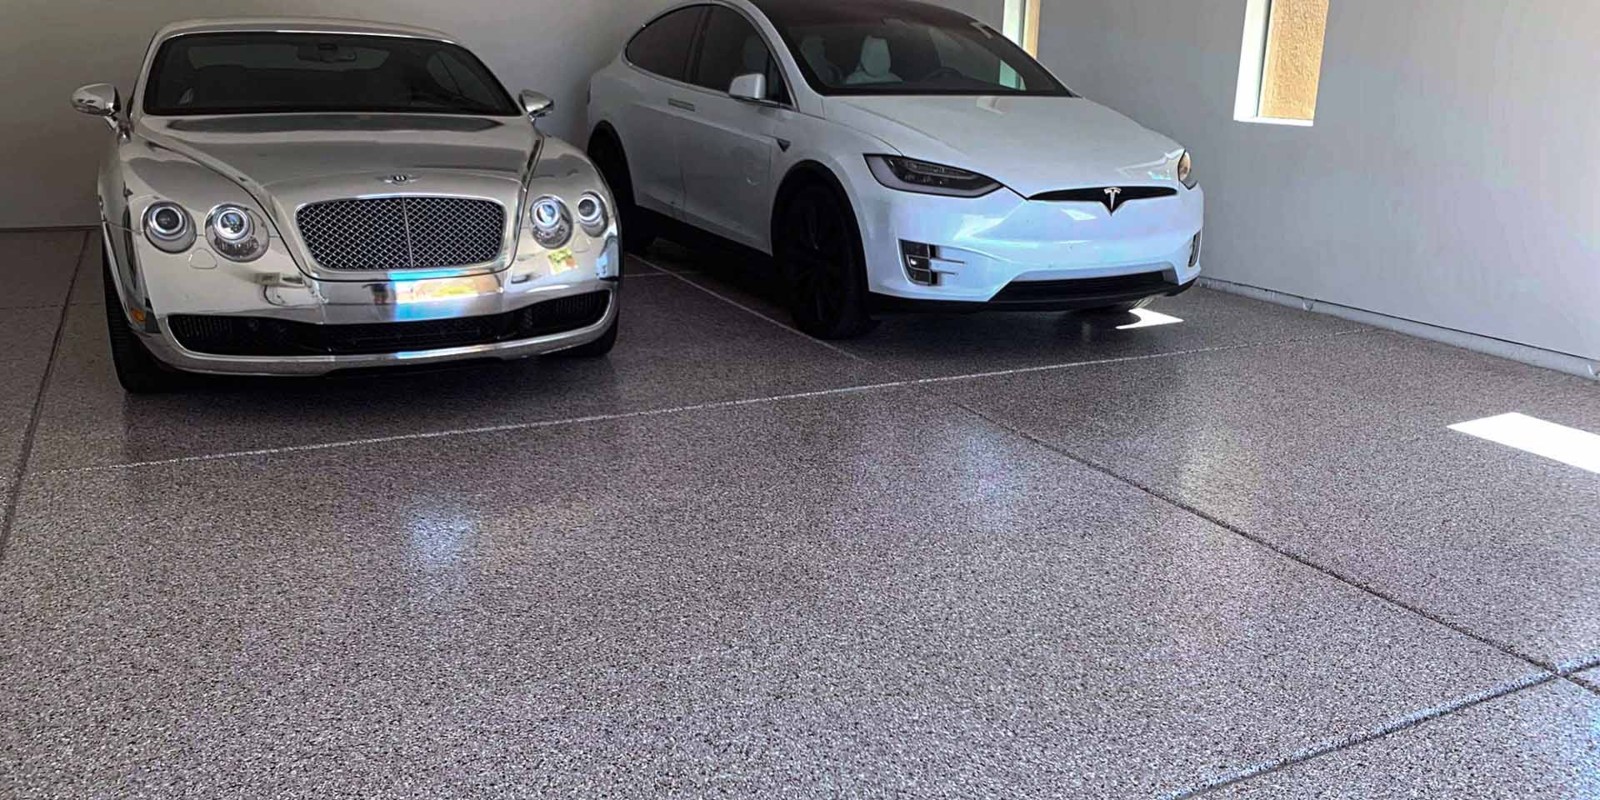
- Epoxy Flake Floor System: This type incorporates colorful flakes into the epoxy for a unique and textured look. It also adds an extra layer of durability and slip resistance.
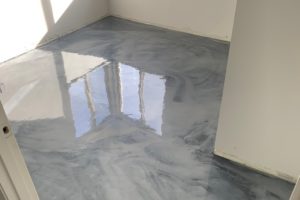
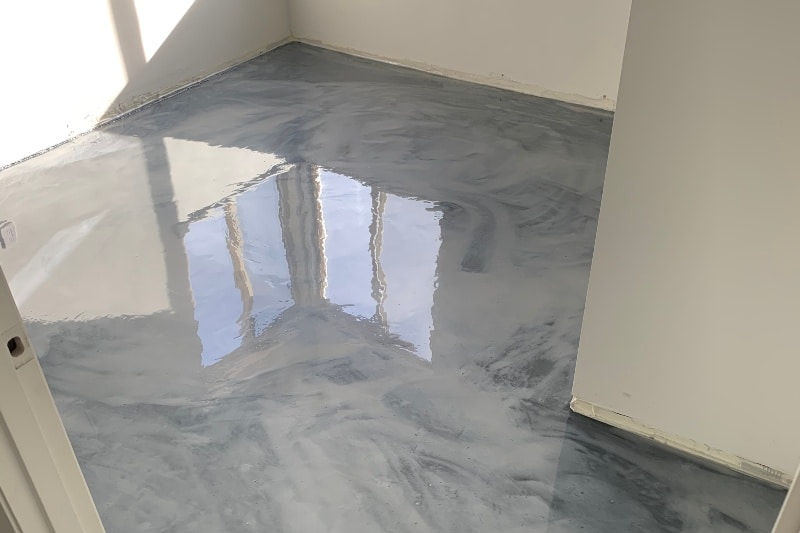
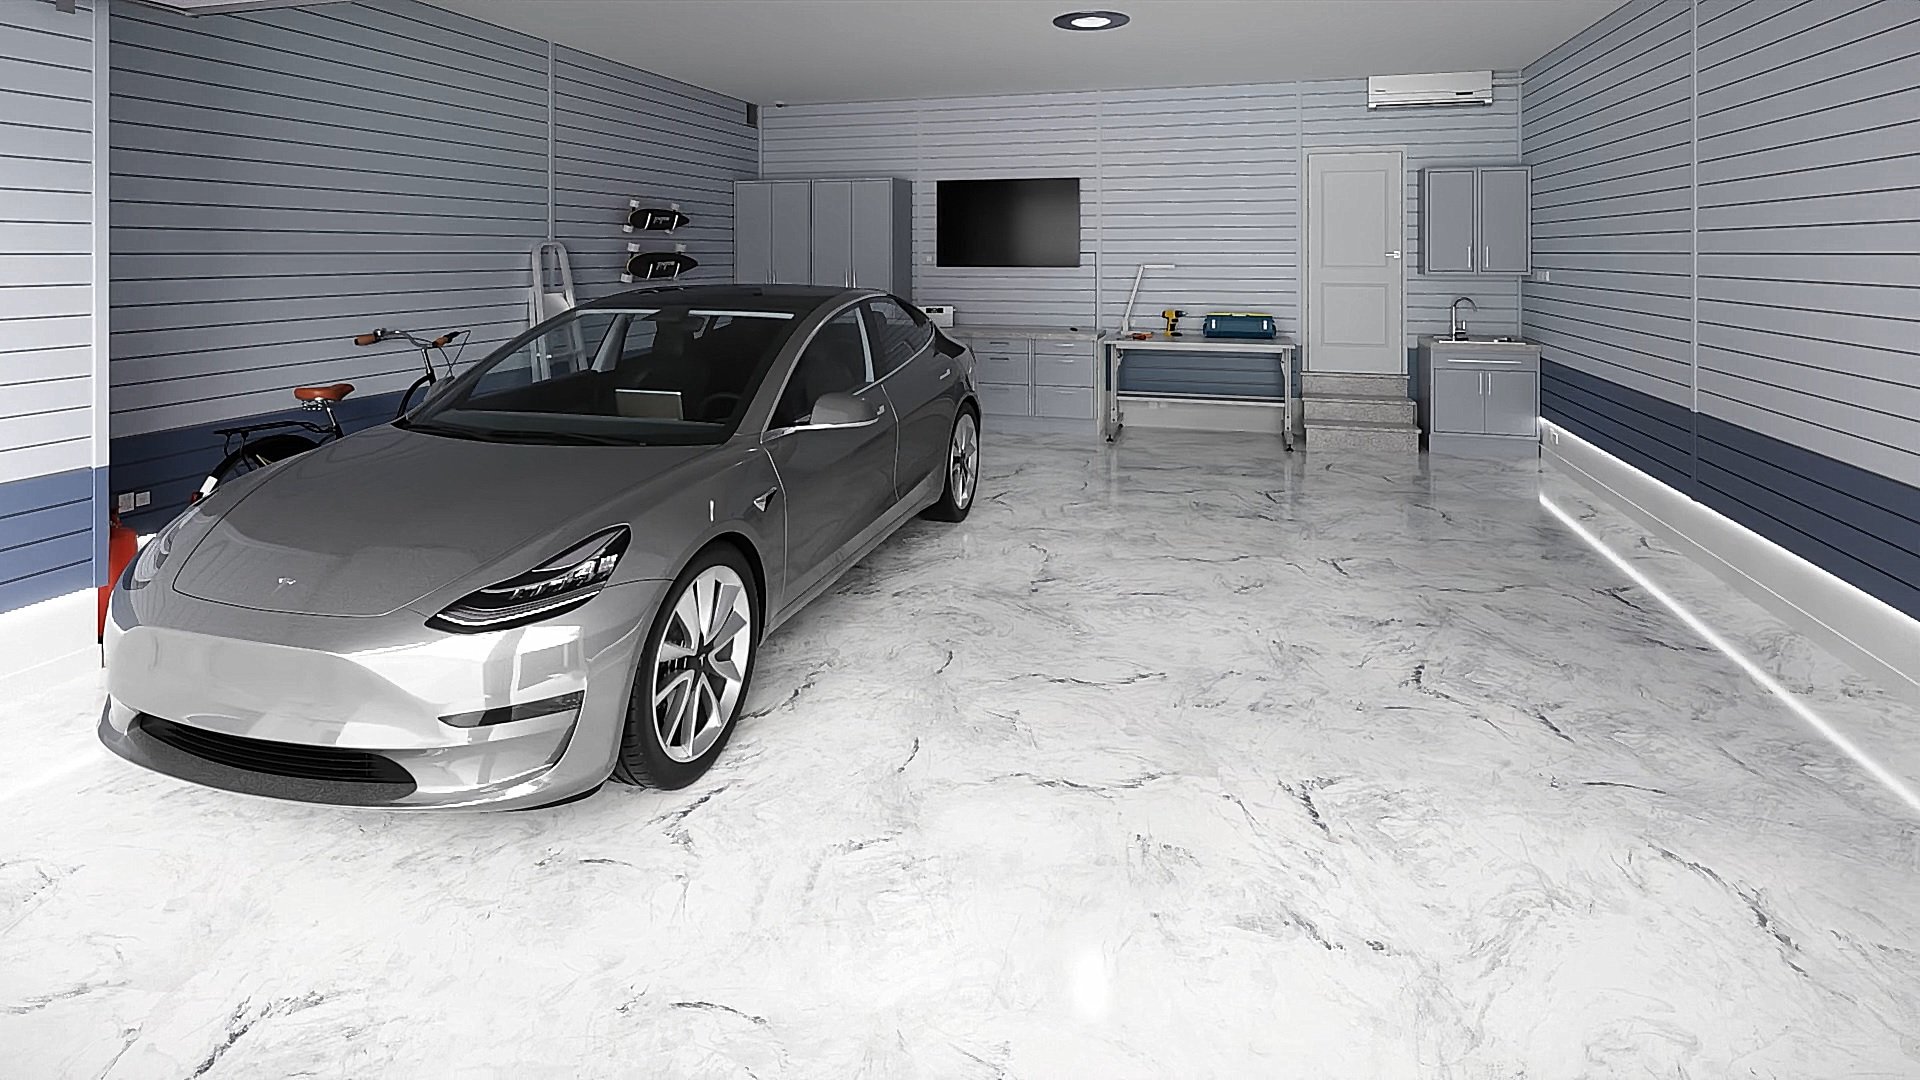
- Metallic Epoxy Floor: This is a premium choice, incorporating metallic pigments for a glossy, reflective surface. It gives your garage a high-end, polished look.
Choosing the right type of epoxy for your garage floor will depend on your needs, budget, and the condition of your existing floor. Each type requires a specific method of application and preparation, so it’s essential to understand what each involves.
Factors that Determine the Cost of Epoxy Garage Floors
Epoxy garage floors have become increasingly popular due to their durability and aesthetic value. However, the cost can vary greatly depending on several factors. First and foremost, the size of the garage is a significant determinant of cost. The bigger the area, the more material is needed, which means a higher cost. Secondly, the condition of the existing garage floor is another factor. If the floor needs to be repaired or leveled, it will add to the overall cost. Thirdly, the complexity of the design desired can raise the cost. Intricate designs or custom logos require more time and effort from the installer, resulting in a higher cost. Lastly, the type of epoxy used can impact the cost. Higher quality epoxies, despite their higher cost, tend to be more durable and can last longer, ultimately saving money in the long run. When considering the cost of an epoxy garage floor, it is essential to take these factors into account to ensure a successful and satisfactory outcome.
Step-by-Step Process for Installing an Epoxy Garage Floor
Installing an epoxy garage floor is a multi-step process that requires careful preparation and execution. Here is a step-by-step guide on how to do it:
- Preparation: The first step is to clean the garage floor thoroughly. This includes removing any dirt, debris, or oil stains. You may need to use a concrete degreaser for stubborn stains. The floor must be completely clean to ensure the epoxy adheres correctly.
- Repair: If your garage floor has cracks or holes, these must be filled and repaired before applying the epoxy. Use a concrete patch product and a putty knife to fill any imperfections.
- Etching: Next, the floor needs to be etched. This process involves applying an etching solution to the concrete to open up the pores, allowing the epoxy to penetrate and adhere better. Rinely rinse off the solution and let the floor dry completely.
- Application of Primer: Apply an epoxy primer to the floor. This step is not always necessary, but it can improve the final result by providing a better bond between the concrete and the epoxy. Let the primer dry according to the manufacturer’s instructions.
- Epoxy Application: Mix the epoxy coating according to the manufacturer’s instructions. Using a roller, apply the epoxy coating to the floor, starting from the farthest corner and working your way towards the garage door. Allow the first coat to dry before applying a second one, if needed.
- Sealing: After the last coat of epoxy has dried, apply a layer of sealer. This will enhance the glossiness of the floor and offer additional protection
Remember to always follow safety precautions when installing an epoxy garage floor. This includes wearing protective clothing, using the proper equipment, and ensuring good ventilation.
Wise Coatings of Austin
https://goo.gl/maps/uisYsX9zx3Z6AWL29
+1 512 599 9473
https://wisecoatings.com/austin


